
How to Hone a Straight Razor: Step 2 Honing
Posted by Marissa Neel, Eric Engle on 31st Mar 2017
Straight razor honing is a skill many would love to add to their tool belt, but find the lack of information (and proper instruction) are a road block for many. We hope to solve this with our new series featuring our hone-meister and blade smith, Eric Engle. Step 1 covered how to prep your whet stones, both synthetic and natural. If you need to review this check out the instructional video here. Now that your stones are perfectly flat it's time to start Step 2, honing you straight razor!

Let's start with the tools we’ll be using
- a straight razor free of active (red) rust,
- whet stones
- electrical tape ( I prefer scotch super 88)
- a bright light source
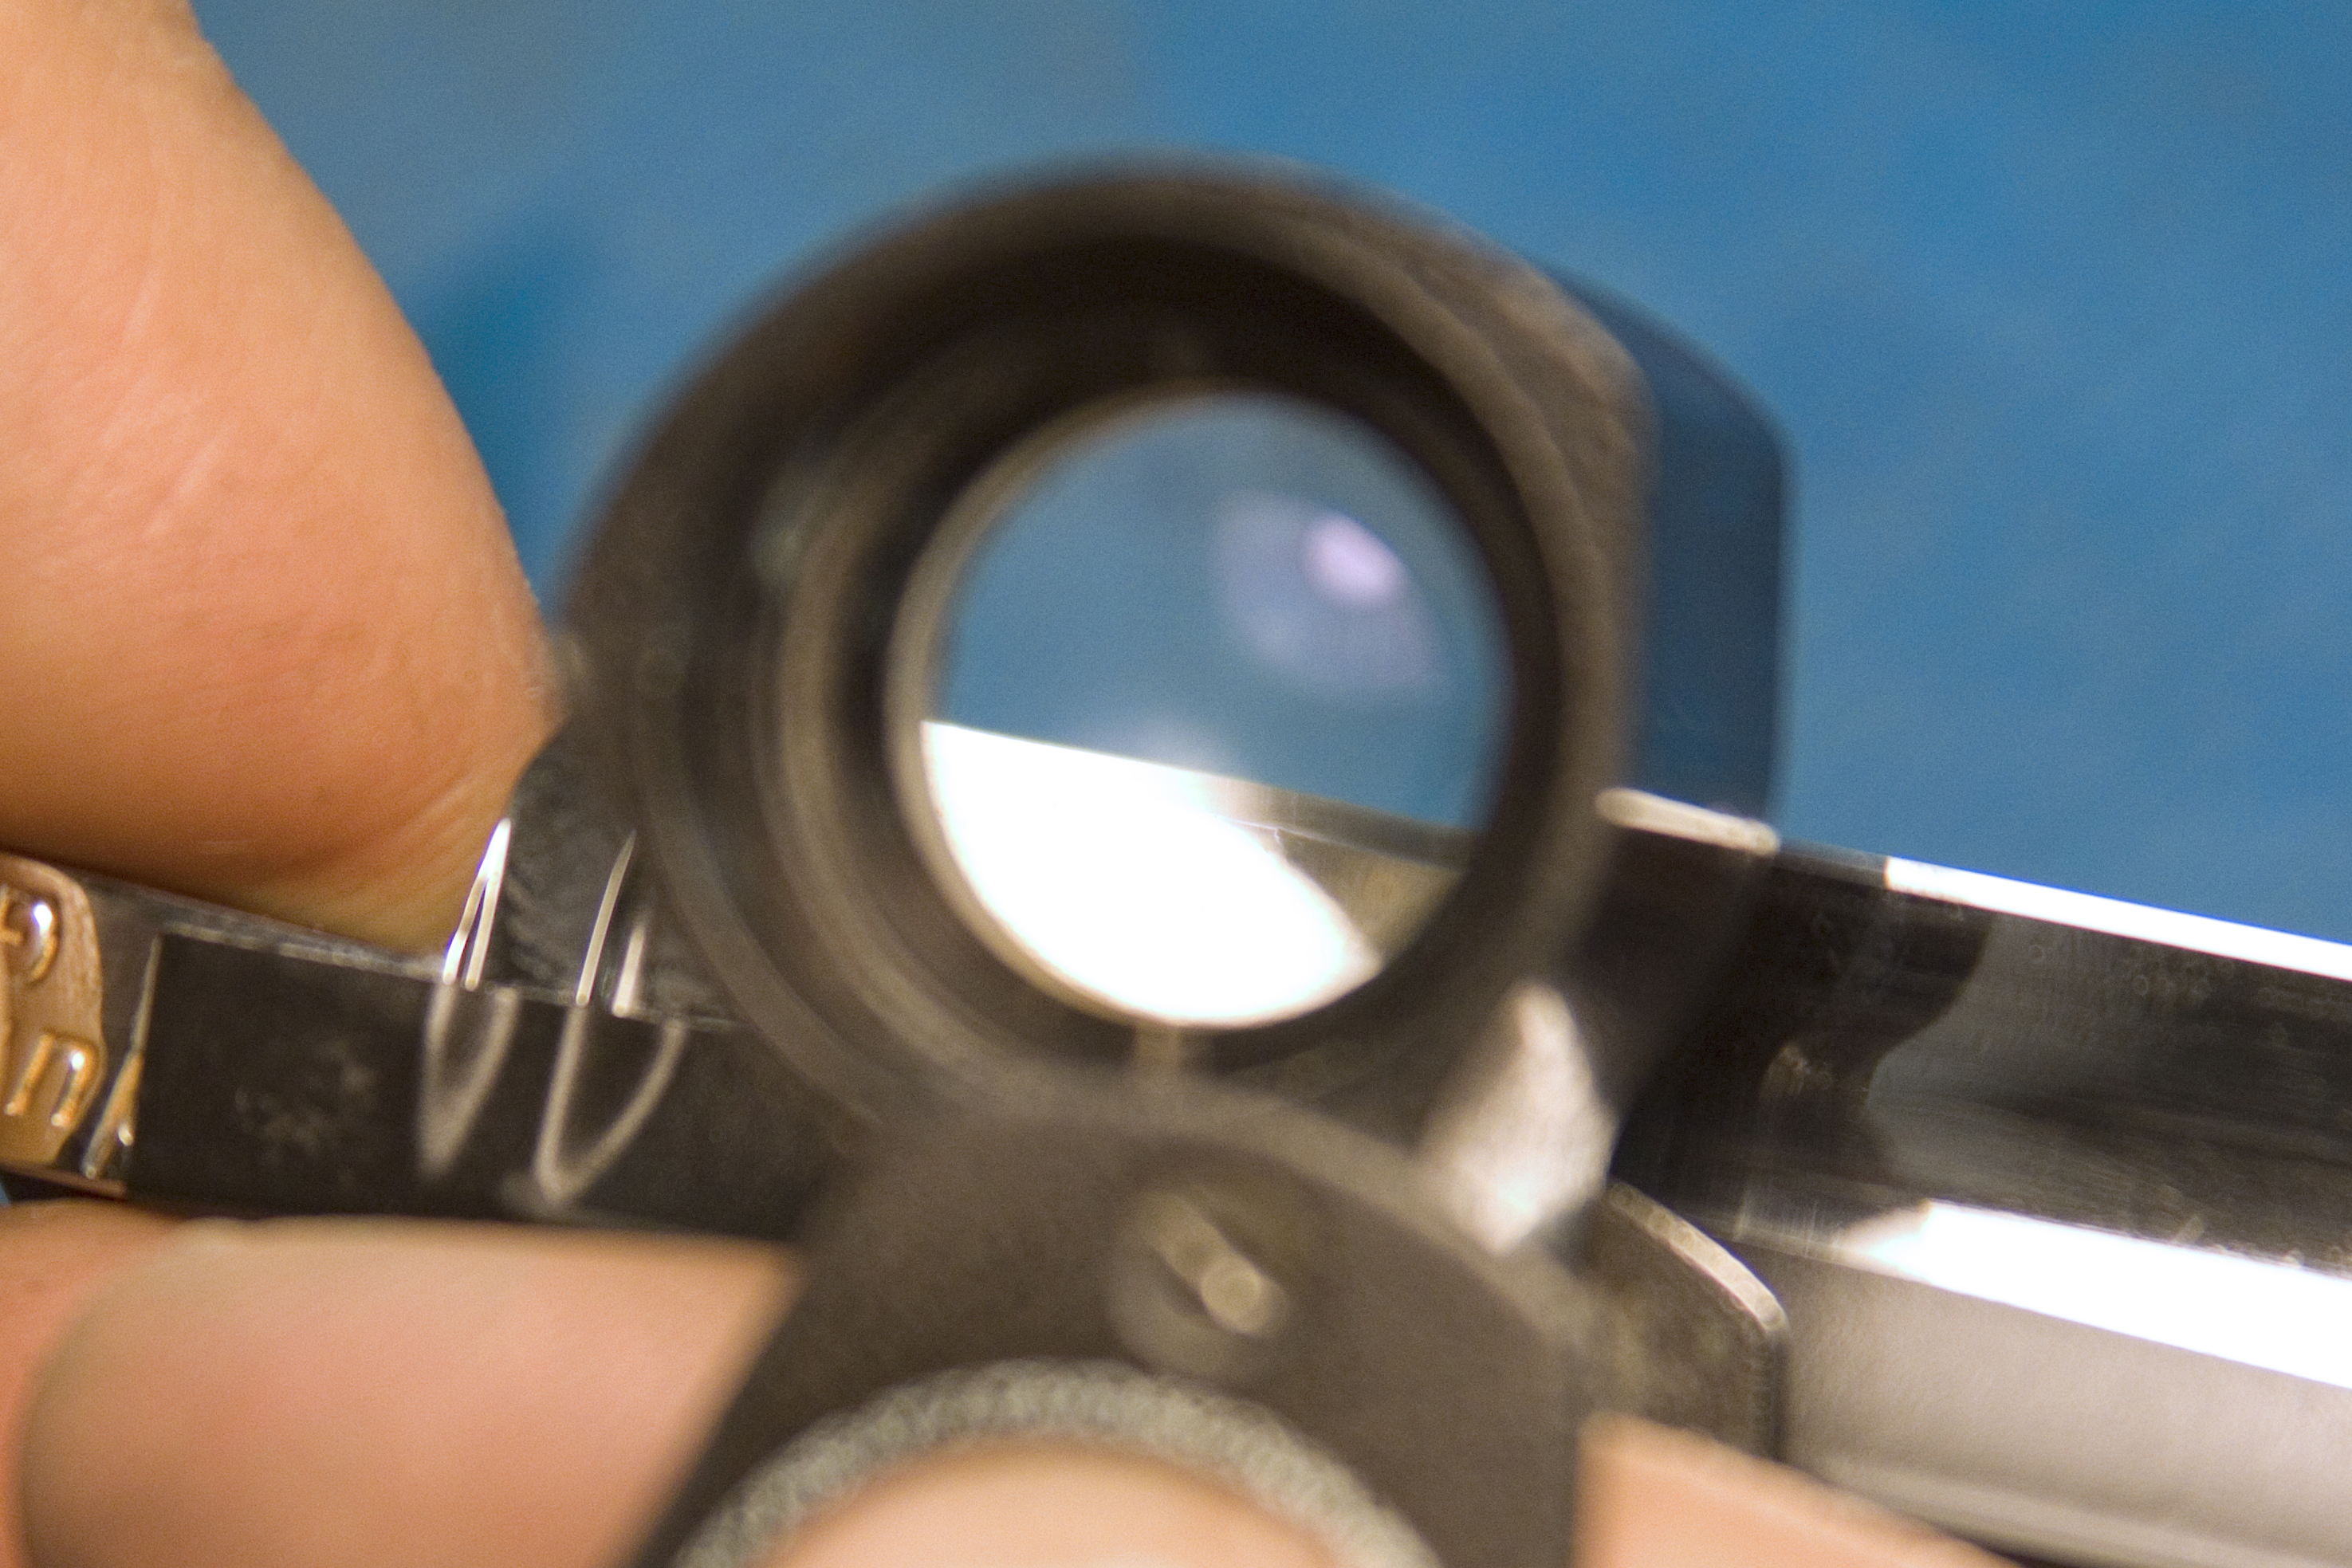
- a magnifying loupe
- water
- towel
1. Tape your spine. It is important to build up your spine, I do on each and every razor.

2. Set your bevel. We’ll accomplish this on the 1k, getting this stone done right is the hardest and most important part of honing. There are different strokes you can use, (circles, wave, or back & forth). Keep in simple in the beginner and experiment as you improve. If you need to use 2 hands to keep the blade steady, that's ok, I often use 2 hands when setting the bevel. You may use a bit more pressure than the weight of the blade.
Check blade with a magnifying loupe, on this first stone your looking to make sure your edge is forming properly. You want to make sure you hone past any chips, check for hairline fractures, and frowns. A lot can be learned from checking for reflections. I believe most poor shaves can be blamed on a small frown in the blade. Often it is caused by the thick shoulder. If the shoulder of your razor reaches down to the edge, you’ll want to grind a bit off. Once, the bevel is set we are ready to move on to the next stone.
3. After 20-30 laps or so on a 3k I want to check my edge again, look for all the same things as before and I also want to check the scratch pattern on the edge. It should all be even, if there are rougher scratch patterns on a section left from the 1k, then I know I need to to work more on that section. Once the scratch pattern is even I’ll move on to the next stone.
4. On the 6k do the exact same thing! 20-laps or so, check scratch pattern. If you happen to notice something here, like a chip you overlooked, or a small frown, do yourself a favor and go back to the 1k, it will save you a lot of time in the long run.
5. We’ll finish up on the 12k naniwa, this a great stone, I recommend everyone have this stone in their lineup. It gives a great finish with a high polish. Repeat Steps 3 &4 the only difference is the scratch pattern should non-existent, after this stone you should not see any scratches with your magnifying loupe.
We will wrap it up here, if you’d like to go further, you can get a 20k stone or even a 30. But those do get pricey and you're not going to notice a huge difference beyond the 12k. We suggest perfecting your honing technique before investing in more stones, as tempting as that is.
Thanks for watching, be sure to check out the next video when we go over how to check the sharpness of your honed blade!


